Happy Taako Tuesday, y’all~! It’s been a little while since my last post. I keep getting distracted by life (as well as getting stuck in a Fire Emblem shaped hole lol). To be fair though, I’ve had the text for this done for a while. It’s just making the post look pretty that takes a long time lol. If you’ve been keeping up my previous posts in this series, thank you so much for reading!! Please feel free to follow the “WonderlandTaakoWIP” tag for these entries! Today, we’re going to start focusing on some actual sewing for this project, starting of course with the bodysuit~
I’ve made several bodysuits over the past few years, so I think I can say with confidence that I’m pretty good at sewing them. They’re really fast and easy for me at this point and I honestly prefer working with a spandex, form-fitting suit with hella cutouts and embellishments, than having to tailor a non-stretch garment lol. The spandex is so forgiving lmao. Ironically, when I was just starting out with sewing, I dreaded the thought of sewing a skintight spandex suit. It seemed so intimidating at the time lol. Oh how the turn tables.
My confidence in bodysuit crafting is all thanks to my tried and true pattern: KwikSew K3052.
This is literally the only bodysuit pattern I trust. It’s the one that I have used for almost all of my bodysuit cosplays. Most of the costume pages featured in this post aren’t totally public on this site yet, but you can access them through here for now! Please feel free to click on the images to learn more about each costume!
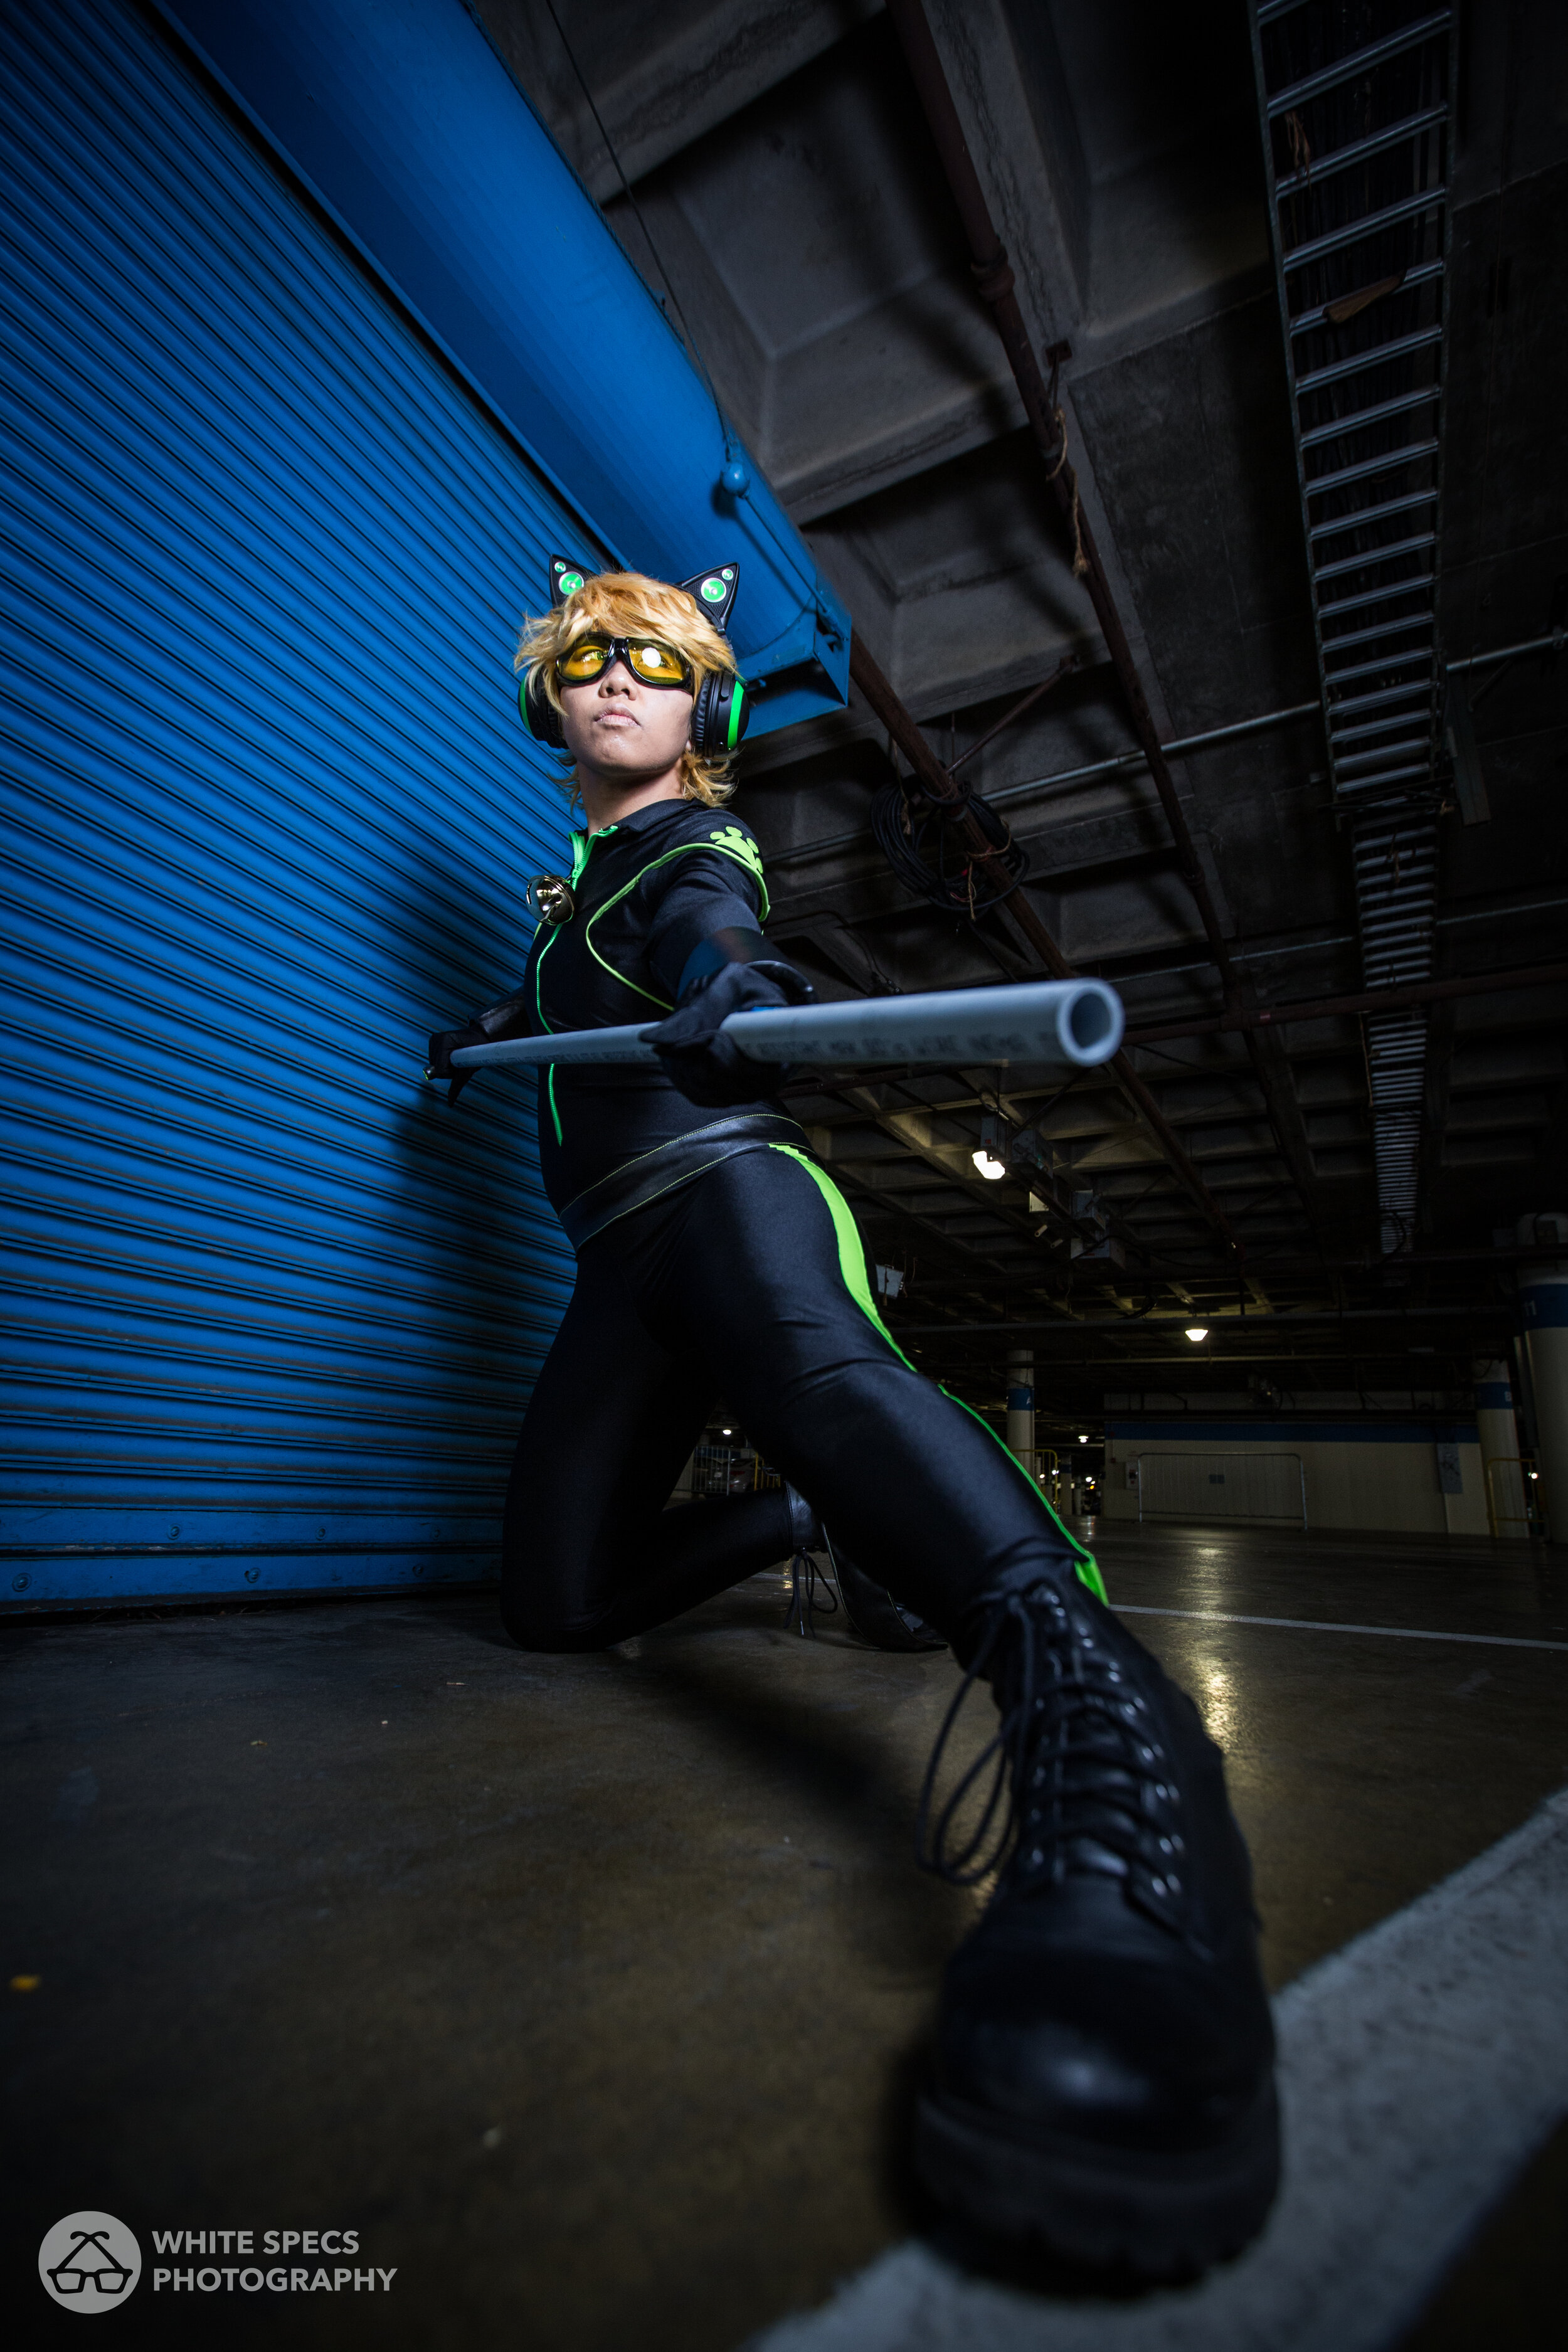
CHAT NOIR (MIRACULOUS LADYBUG) 2016
This is the second bodysuit I made and my first time doing more customization to the pattern i.e. the shoulder seams and piping. Photo by White Specs Photography.
CAPTAIN AMERICA BUCKY BARNES (CAPTAIN AMERICA) 2016
My third suit! I sewed this one up in like a week so I could meet Sebastian Stan lmaooooooo. Photo by JAYKID.
YUURI KATSUKI -EROS- (YURI ON ICE!!) 2017
My fourth bodysuit and my absolute favorite costume to this day! Photo by Clouds Cosplay Photography.
Lol as you can see, I’m a big fan of bodysuits. I have found this pattern to be so reliable. I didn’t do much to the pattern out of the packaging, other than taking in the sleeves to better fit my arms. Otherwise, I was fortunate to not have to do anything else in regards to the fit.
In regards to Wonderland Taako’s bodysuit, I started out doing what I always do when making a bodysuit: make a mockup first. Even though I know how this pattern works and fits, I always make a mockup first, especially if I’m going to be doing customizations like cutouts or color blocking.
And mockup done~! I followed the pattern exactly as written in the sewing instructions. I skipped doing the sleeves though, since the final sleeves were not going to look like the pattern sleeves at all and I would be drafting the sleeves myself later. I was also hella lazy and skipped out on sewing a zipper in lmao. I just sewed it closed and carefully slipped into this bodysuit to try it on lolololol.
Once the mockup was made, I drew directly on the fabric to indicate where my seams will be.
As you can see in Wonderland Taako’s mockup, I marked where the waistband would go, as well as the large diamond cut out on the back and the diamond cutouts on the legs. I actually used paper stencils to draw the leg diamonds on so that they’d be symmetrical on both legs.
Once I was happy with the placements, I took the whole suit apart with a seam ripper and then cut out the pieces according to my markings to create my new pattern.The pieces that were cut from the mockup became the pattern. I then took those pieces to the costume’s actual fabric to cut out. Before cutting out though, ALWAYS ADD SEAM ALLOWANCE. If that part is skipped, your measurements will be off in the final product and you’ll probably have to start over :<
Sewing is pretty straightforward, once the pattern is cut out. However, before I assembled my bodysuit, I did all my embellishments like the appliqué and the rhinestone application. It was just easier to get them on there with the pieces lying flat. I chose stretch velvet for this costume, partly inspired by figure skating costumes as I mentioned in my Introduction entry for this series. The fabric choice came to me pretty early in the designing stages and just would not leave my mind, so I guess I never considered any alternatives lol.
And that’s it~! I’ve had a ton of practice with bodysuits, so this was a breeze for me. Writing this entry was a fun look into my process for these. I might do write-ups on my other bodysuit costumes that I mentioned earlier in this post. In my next entry, I’ll be going into my process of attaching the filigree appliqué details onto this costume. Thanks again for taking the time to read these! I’m really enjoying writing down my crafting progress.


